Aperture Priority Mode: The Best All-Round Camera Setting for Photographers
One of the most critical decisions that a photographer must make is choosing the right camera mode. There are several modes available, including manual, shutter priority, and aperture priority, but for many photographers, aperture priority is the best all-around choice. In this article, we'll explore why aperture priority mode is the go-to camera mode for many photographers.
Aperture priority, also known as "aperture value" (AV) mode, gives you control over the aperture of the camera. The aperture is the opening in the lens that controls the amount of light that enters the camera. It also controls the depth of field in a photograph, which is the distance between the nearest and furthest objects that appear in sharp focus.
One of the biggest advantages of using aperture priority mode is that it allows you to control the depth of field in your photos. A wider aperture, such as f/1.8, will create a shallow depth of field, which is great for portraits, as it allows you to blur the background and focus on the subject. Meanwhile, a smaller aperture, such as f/16, will create a deep depth of field and will help keep both the foreground and background in focus. This is great for landscape photography and any situation where you want to keep a lot in focus.
Aperture priority mode also gives you more control over the exposure of your photos. The aperture setting also affect the exposure and with aperture priority mode, you can quickly and easily adjust the aperture to achieve the desired level of brightness in your photos. In contrast, manual mode requires you to adjust multiple settings at once to achieve the right exposure, which can be time-consuming and difficult for some photographers.
Another advantage of aperture priority mode is that it allows you to work in a wide range of lighting conditions. If you're shooting in low light, you can use a wider aperture to let more light into the camera and achieve a well-exposed image. Conversely, if you're shooting in bright sunlight, you can use a smaller aperture to avoid overexposing your photos.
In addition, aperture priority mode also allows you to create unique and interesting images. By controlling the depth of field, you can make certain parts of the image stand out, draw the viewer's attention to a specific area, and create a sense of depth in your photos.
Here are some tips for using aperture priority mode:
Control depth of field: The aperture controls the depth of field or the area in focus in the image. Use a low f-number (wide aperture) for shallow depth of field and a high f-number (narrow aperture) for deep depth of field.
Low light situations: In low light conditions, use a wider aperture (low f-number) to let more light into the camera and avoid camera shake due to slow shutter speed. Use a tripod if needed.
Action and sports photography: For action and sports photography, use a fast shutter speed and a wide aperture to freeze the motion and isolate your subject.
Landscape photography: For landscape photography, use a deep depth of field by selecting a high f-number to ensure everything is in focus.
Portrait photography: For portrait photography, use a shallow depth of field by selecting a low f-number to blur the background and draw attention to the subject.
Other camera modes:
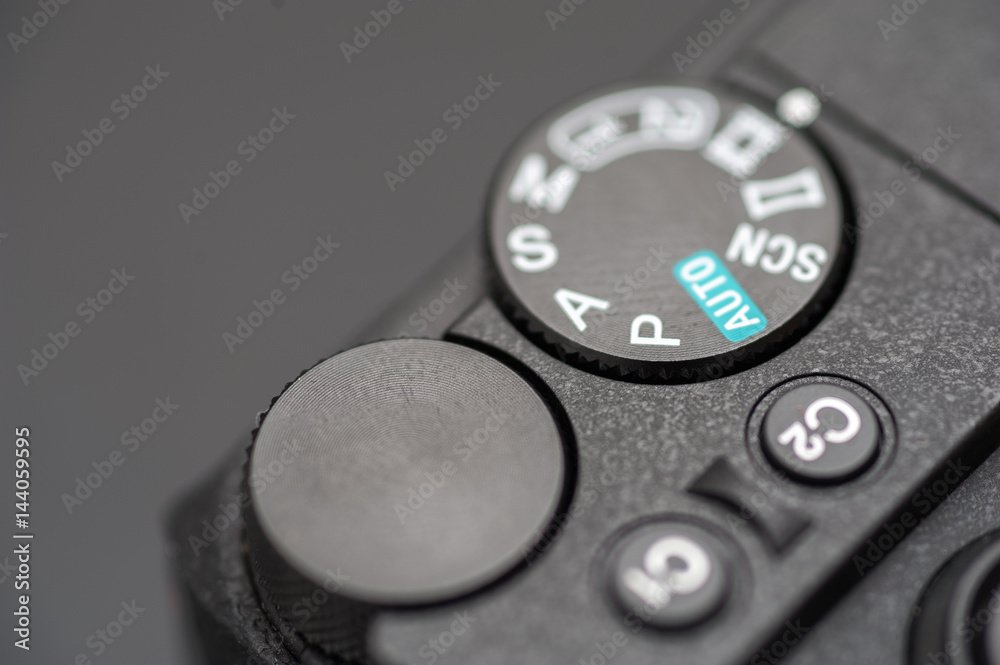
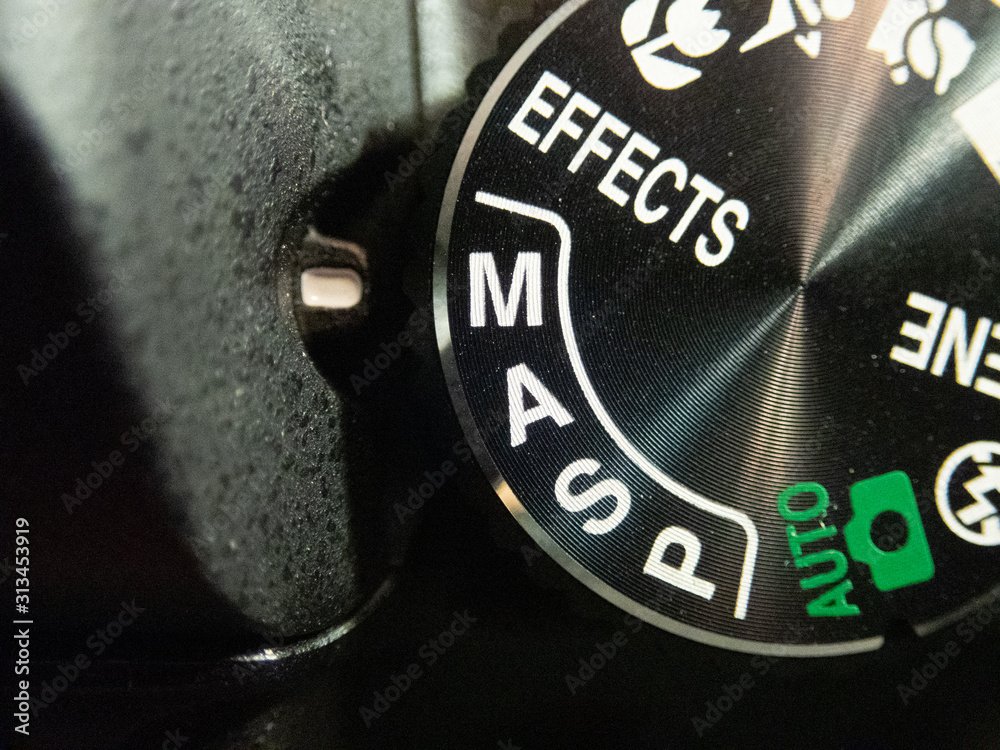
Manual mode (M): In manual mode, the photographer has complete control over the exposure variables and sets both the aperture and shutter speed manually. This mode is ideal for experienced photographers who understand the exposure triangle and have a good sense of how changes in aperture and shutter speed affect the final image.
Shutter priority mode (S or Tv): In shutter priority mode, the photographer sets the shutter speed and the camera automatically adjusts the aperture to achieve proper exposure. This mode is useful for capturing fast-moving action or for controlling motion blur in low light conditions.
Program mode (P): In program mode, the camera sets both the aperture and shutter speed, but allows the photographer to make changes to other camera settings, such as ISO, white balance, and metering mode. This mode is suitable for beginners who want some control over the final image, or for situations where the camera needs to work quickly.
Scene modes: Scene modes are pre-programmed modes that cater to specific shooting situations, such as landscapes, portraits, sports, macro, and night scenes. In these modes, the camera automatically sets various parameters, such as aperture, shutter speed, and ISO, to suit the specific shooting scenario. Scene modes are suitable for beginner photographers who want the camera to make decisions for them, or for specific situations where the camera needs to work quickly.
Automatic mode (Auto): In automatic mode, the camera makes all decisions regarding exposure, including aperture, shutter speed, ISO, and focus. This mode is suitable for beginner photographers who want the camera to handle everything, or for quick, candid shots where there is not enough time to make adjustments.
In conclusion, aperture priority mode is a versatile camera mode that offers a range of benefits for photographers. It gives you control over the depth of field in your photos, allows you to control the exposure and work in different lighting conditions effortlessly, and provides the opportunity to create unique and exciting images. Whether you're a beginner or an experienced photographer, aperture priority mode is a good all-round camera mode that help you get the depth of field and exposure you want
I hope that you found it informative and helpful. As someone who struggles with dyslexia, I want to let you know that I used a writing tool called OpenAI's GPT-3 to assist in the creation of this piece. GPT-3 has been an invaluable resource for me, helping me to fine-tune my writing and express my thoughts more clearly. While I was responsible for the overall direction and content of the post, GPT-3 helped me to refine the language and make the writing more cohesiv.


Thinking about the Sony ZV-E10 II? After six months of use, I took it on a weekend getaway to test its photo and video capabilities. In this hands-on review, I share what I love, what I don’t, and whether it’s worth buying. Read more for real-world insights, pros & cons, and sample images!