

How to add a border around your image in photoshop

Are you a photoshop user ? Have you ever wanted to create a border or frame for the images you share online. In this article, I will show you two straightforward ways of making a border around your image in photoshop.
1. import your image into photoshop.
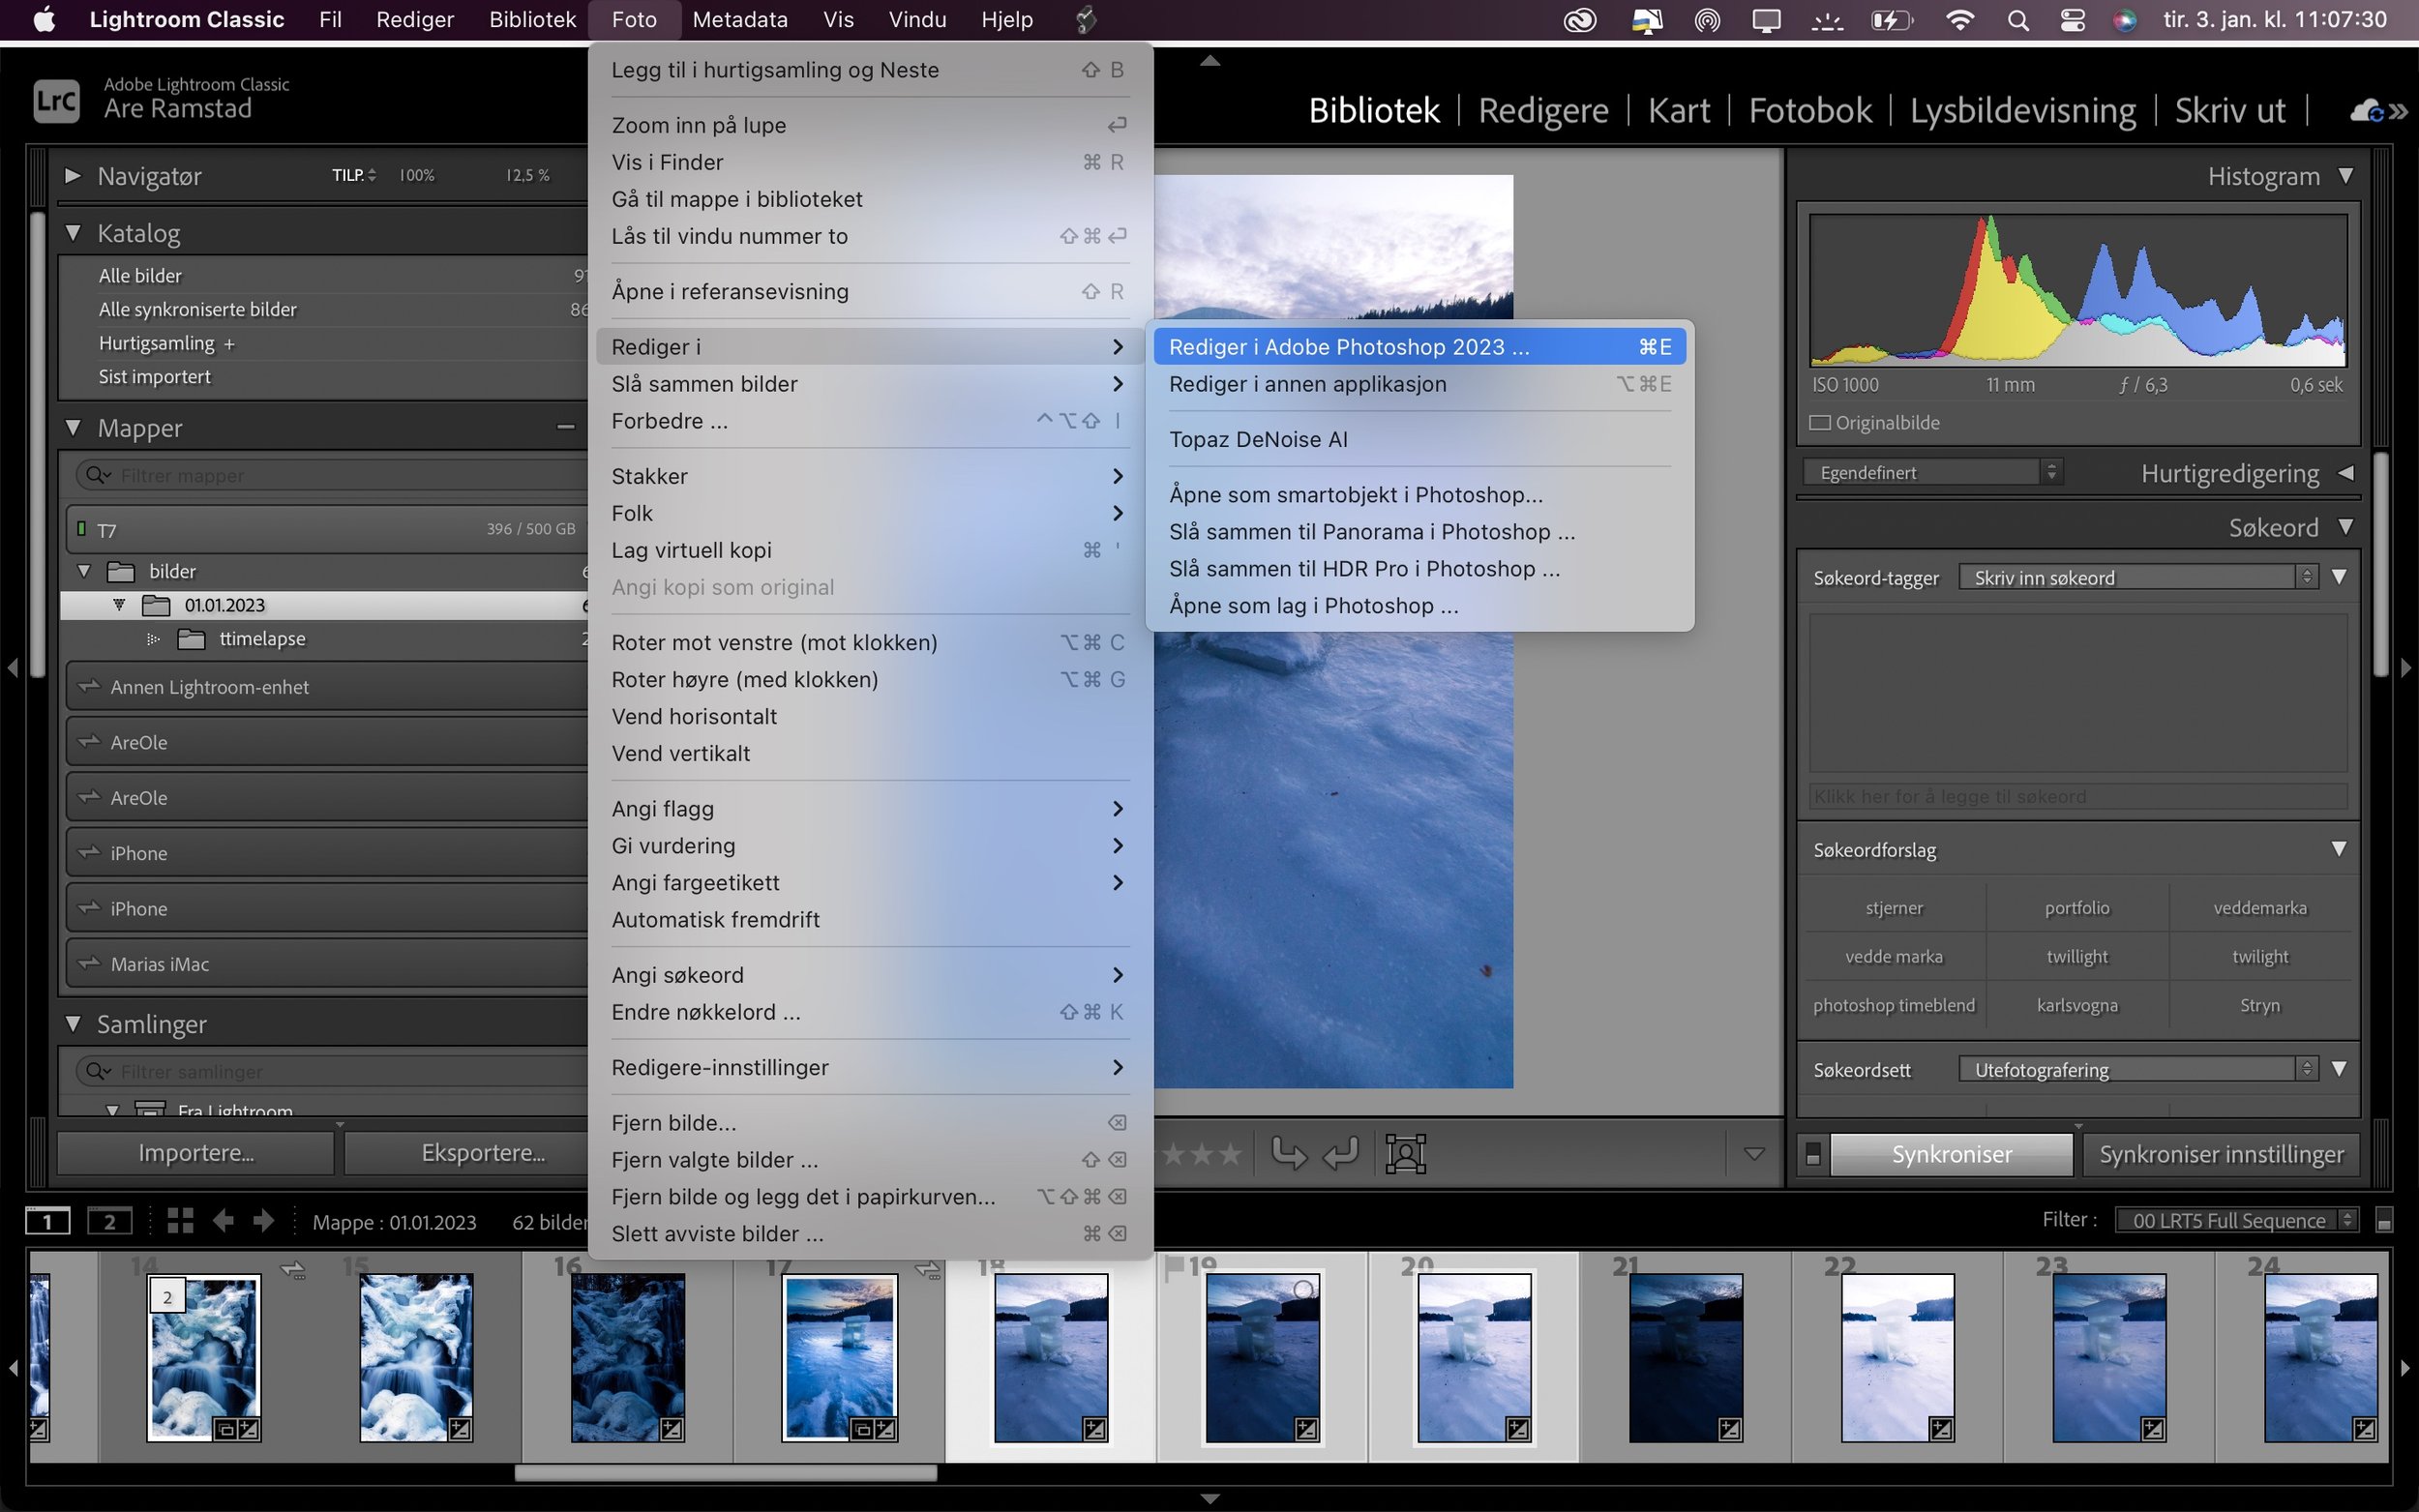
Loading photos into photoshop is easy once you know how. From lightroom just choose Image and edit in and edit in photoshop.
If you want to open a file directly in photoshop, chose open file and pick the file you want to open

2.Create border
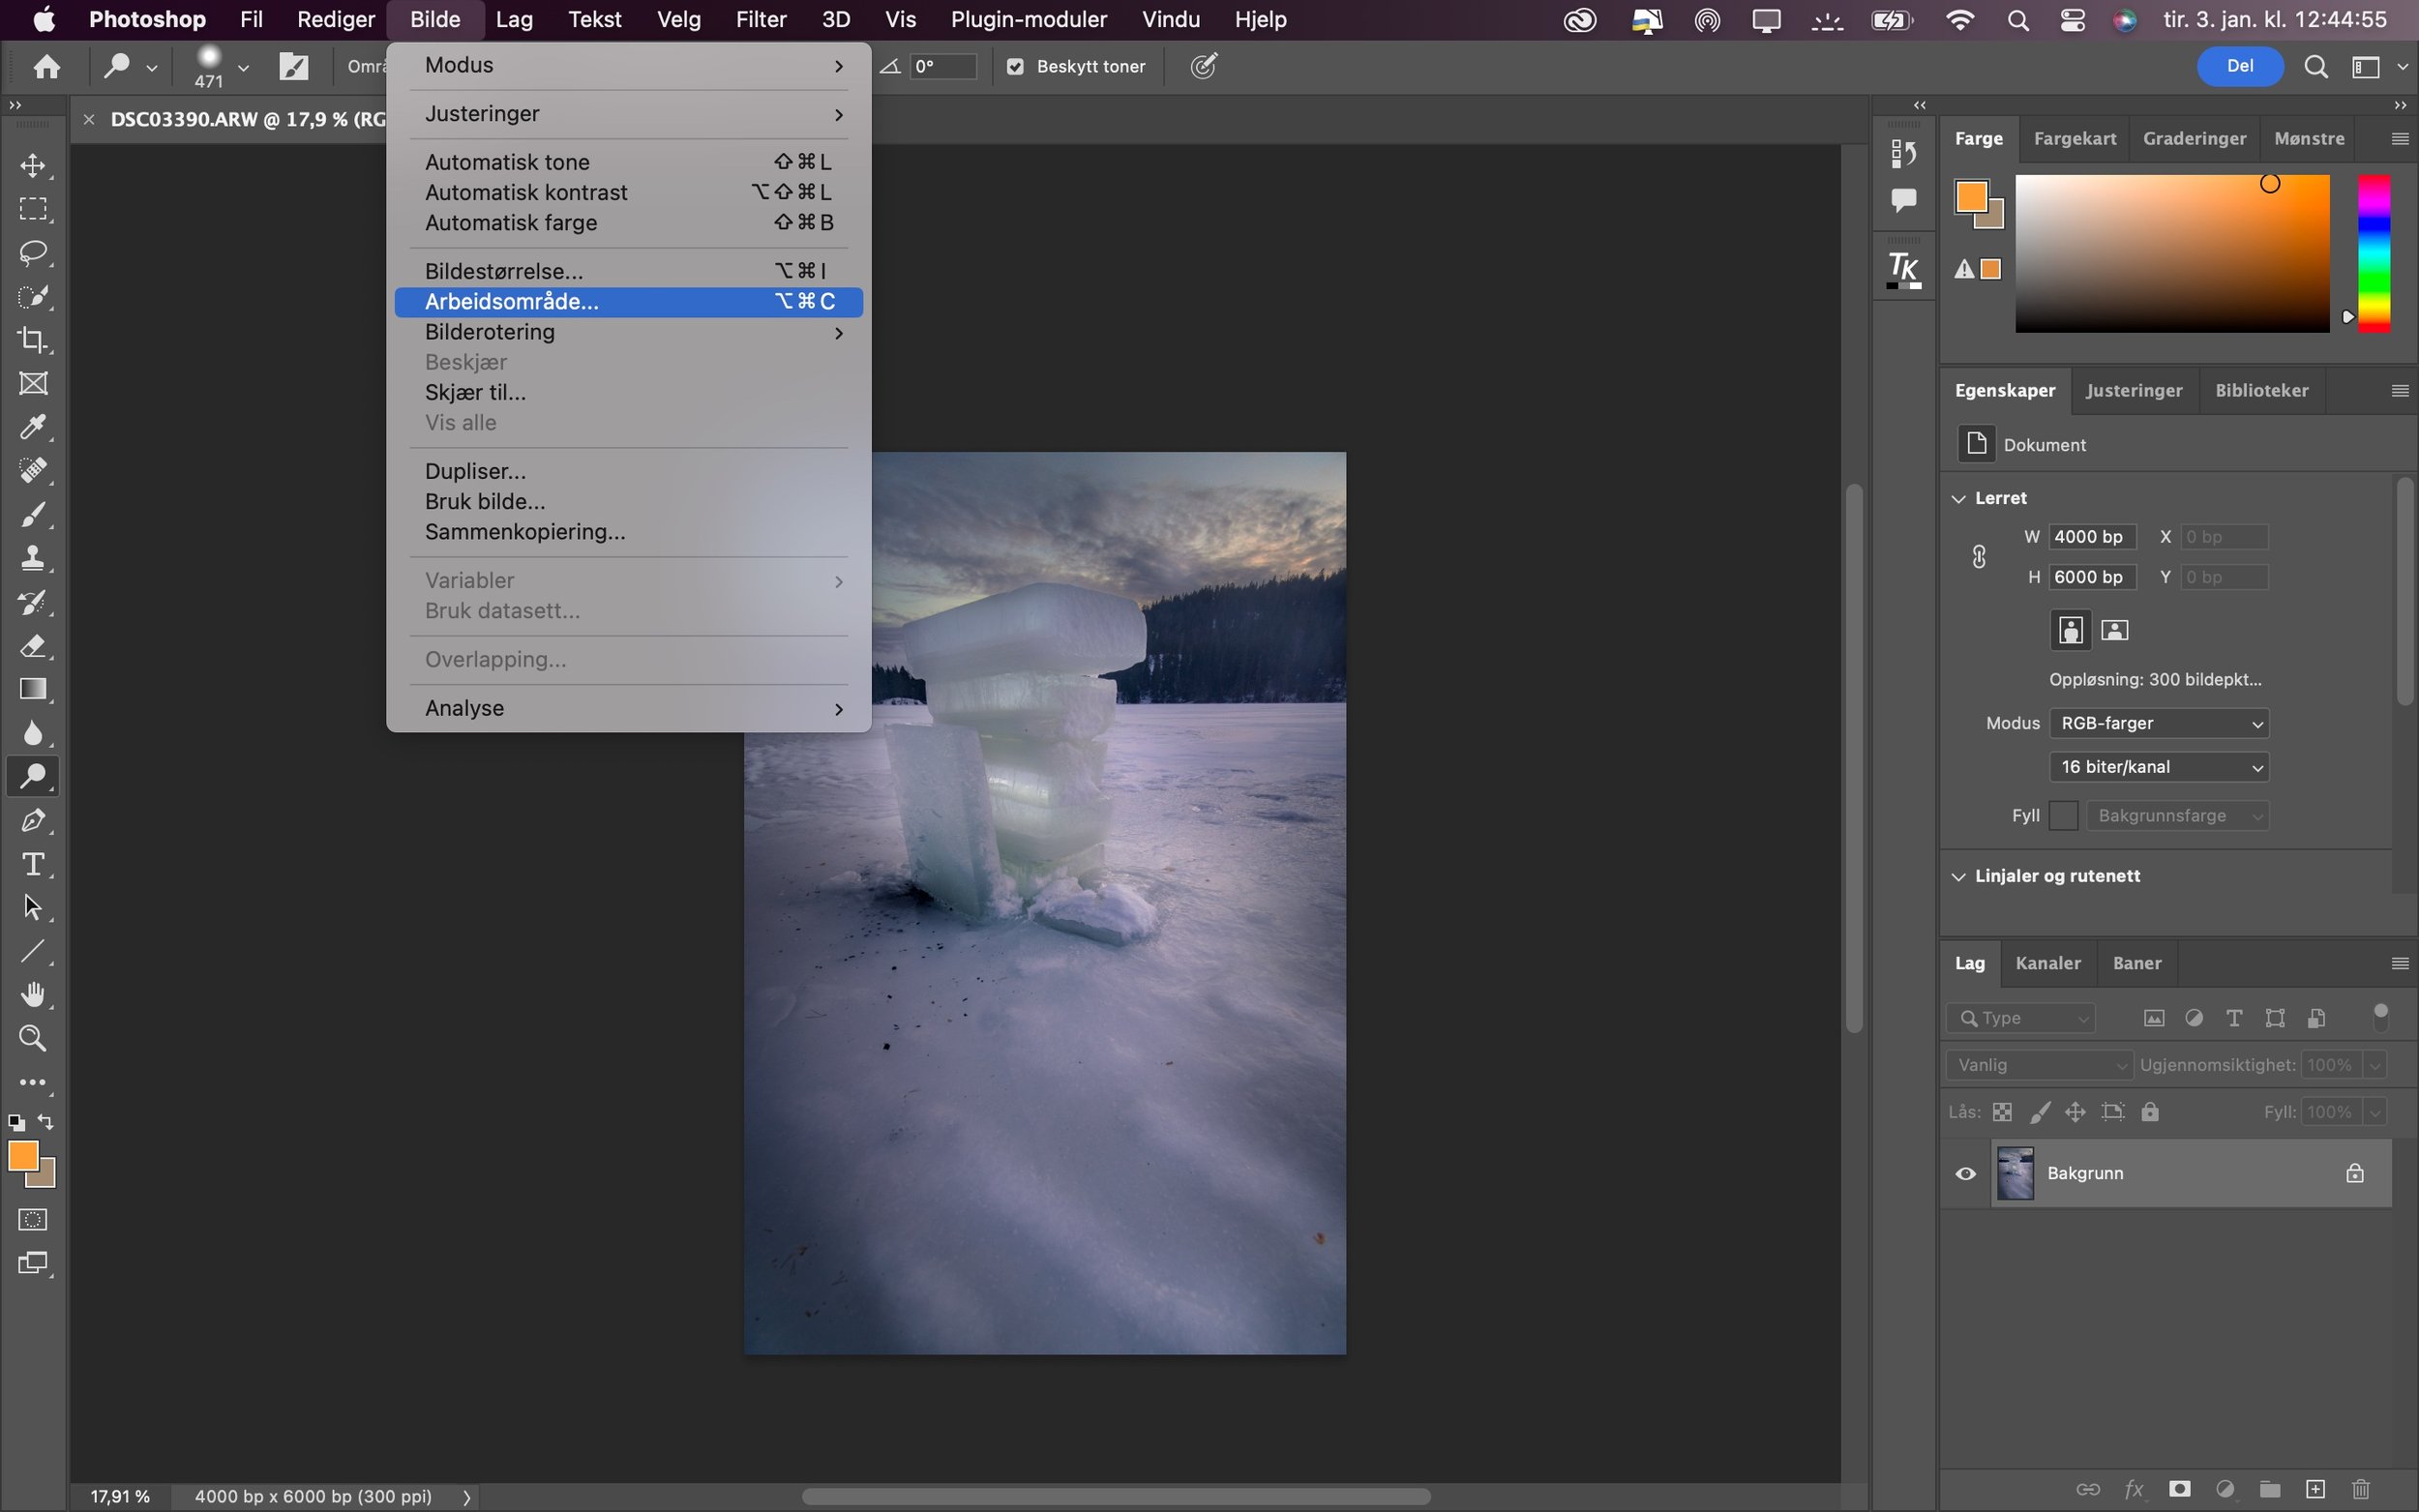
Once you have your file opened in photoshop go to photo in the main menu bar and scroll down to work area.
When you have chosen work area, just change the picture point to the width and length you want the border, I usually use about 300, but experiment and see what you like. Also make sure the little box that says relative is ticked and that you have a centered anchor point. At the bottom you can chose the colour of your liking. After that is done, press ok.
This is how the finished result will look like with a white border with 300*300 picture point extra work area.
3. Save image
To save your image, press command +W or just close your project and click save. The good thing about working in lightroom and photoshop is that if you open a photo from lightroom into photoshop your photoshop edit will be automatically saved next to the original in lighteoom as a TIFF file.
I Hope this was useful. If you got any thing to ask or something to add, leave a comment.


Thinking about the Sony ZV-E10 II? After six months of use, I took it on a weekend getaway to test its photo and video capabilities. In this hands-on review, I share what I love, what I don’t, and whether it’s worth buying. Read more for real-world insights, pros & cons, and sample images!