

A introduction to lightroom classic for beginners.

Design by Are Ramstad
Lightroom Classic is a powerful photo editing software developed by Adobe. It offers a range of tools and features for organizing, editing, and exporting photos. Whether you are a professional photographer or a casual shooter, Lightroom Classic can help you take your photos to the next level.
In this tutorial, we will go through the basic workflow of Lightroom Classic and cover some of the essential tools and features that you need to know as a beginner.
Importing Photos
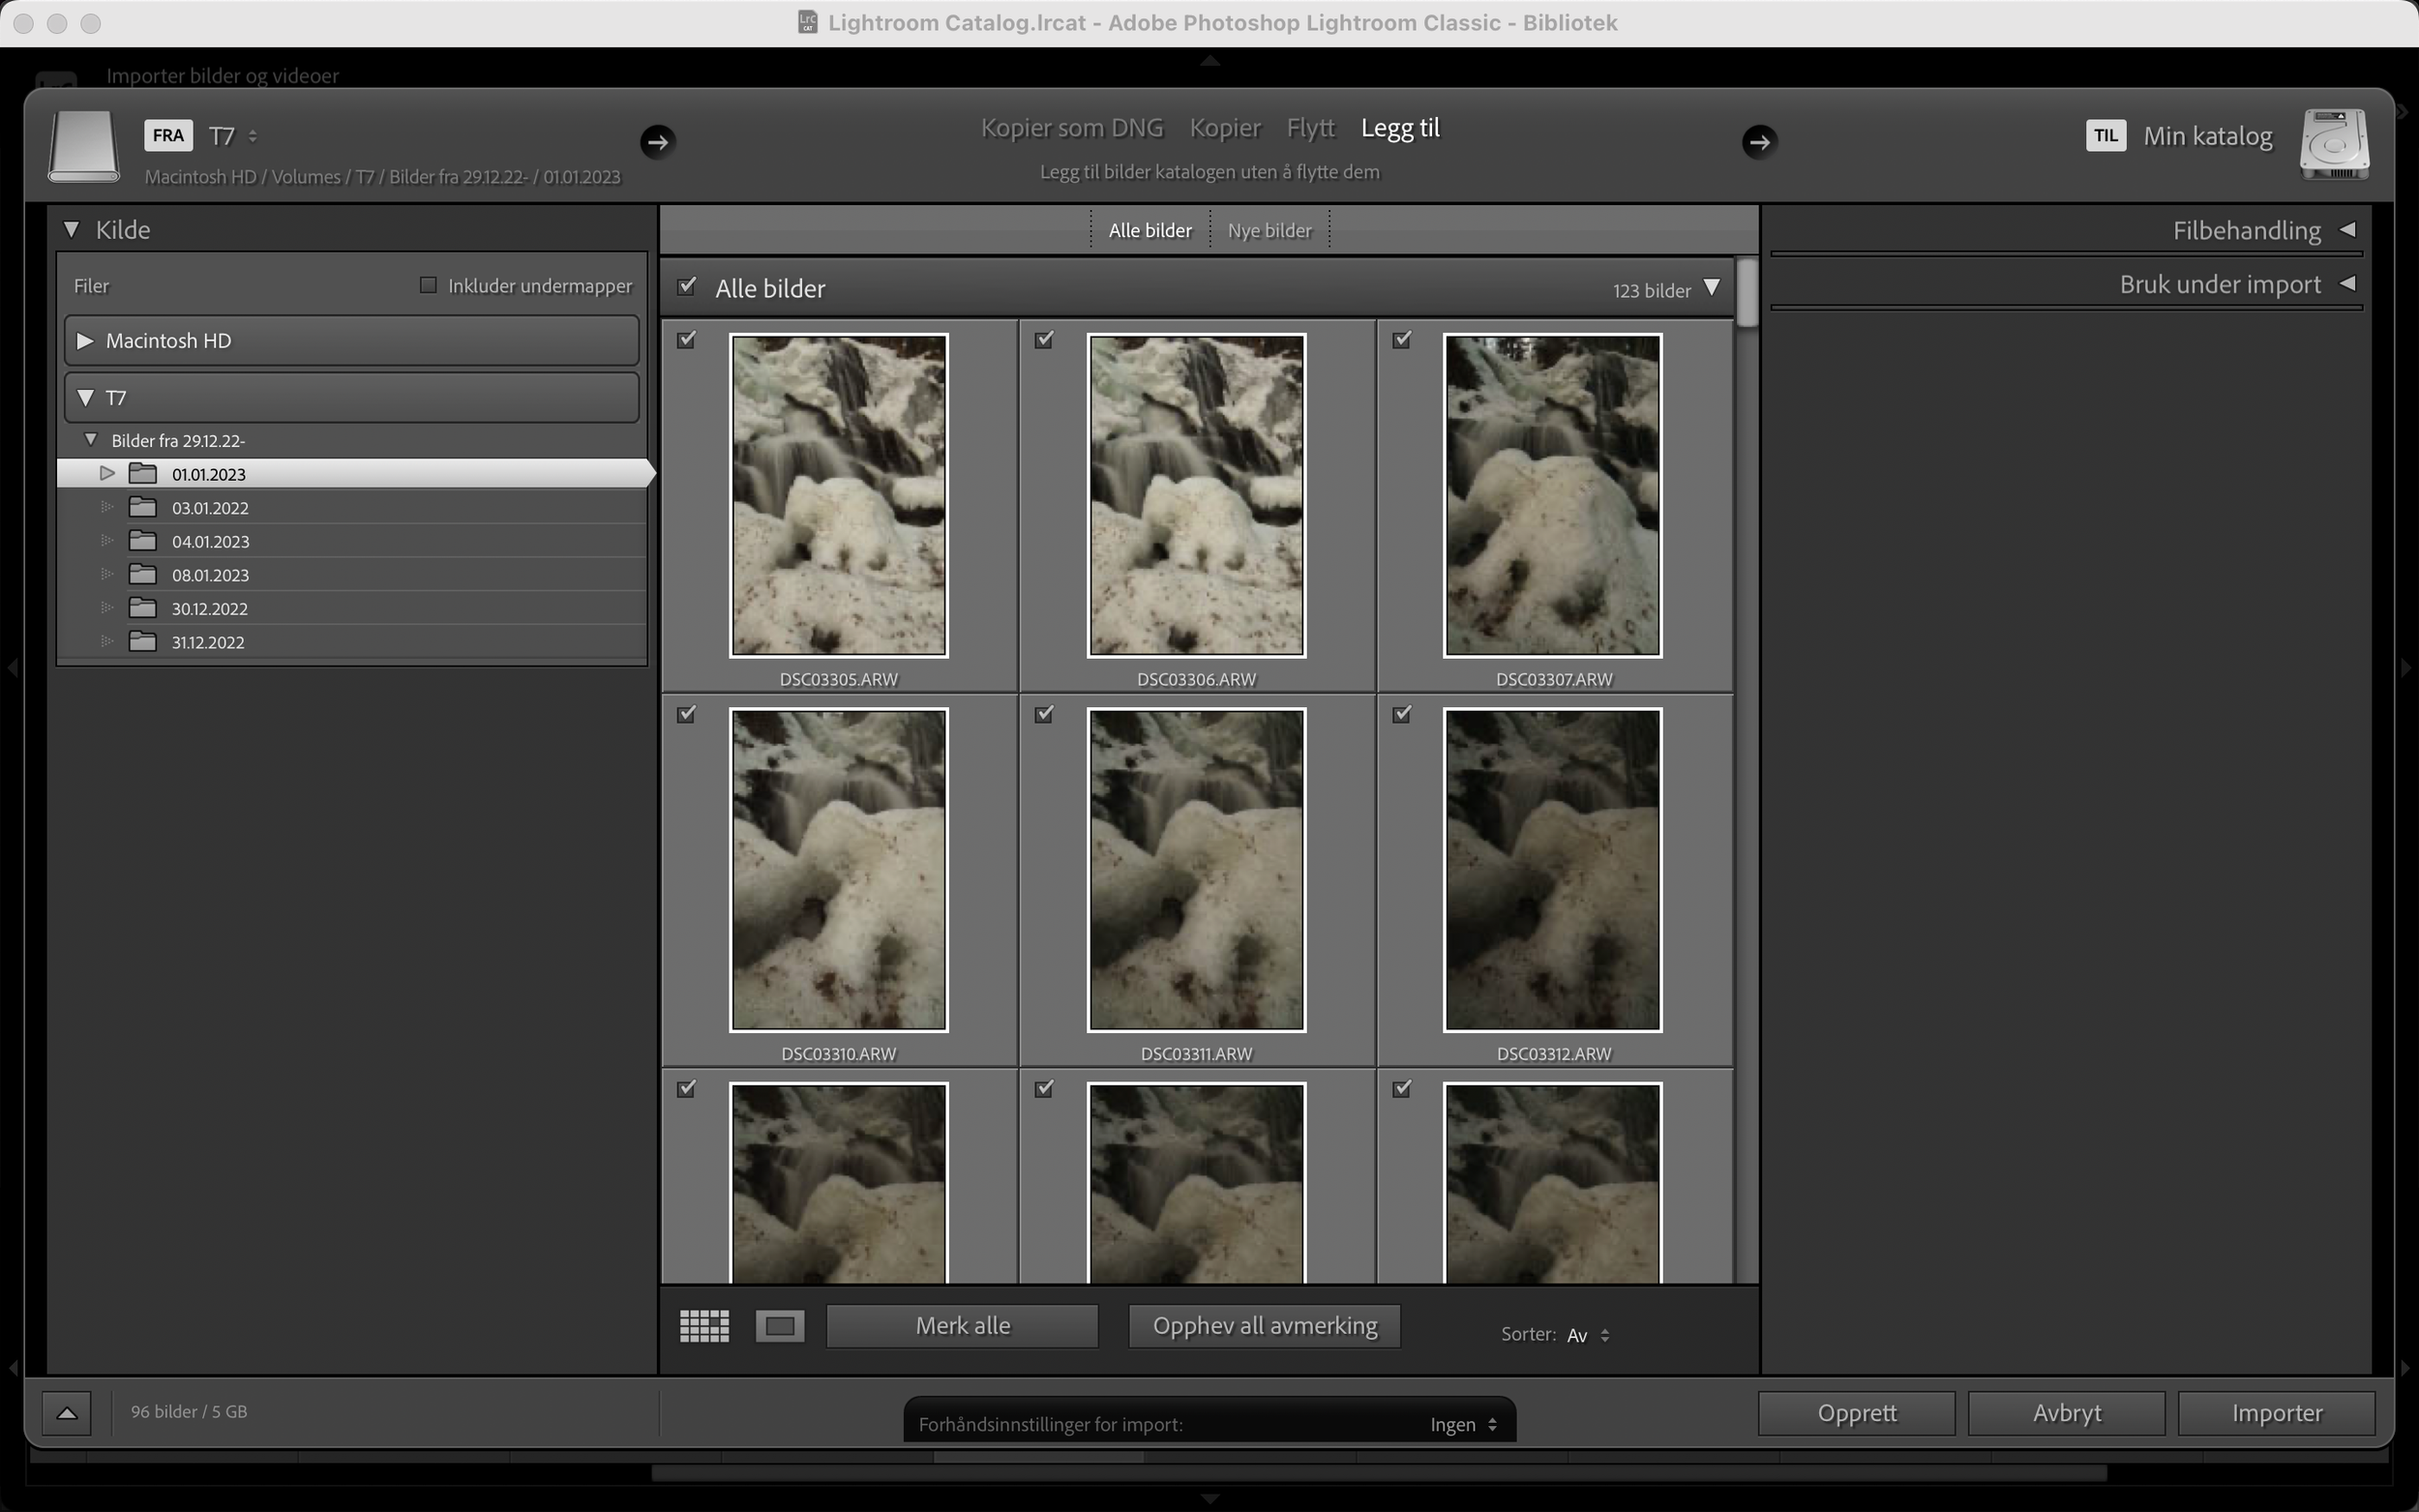
The first step in the Lightroom Classic workflow is importing photos into the program. You can do this by selecting "Import" from the File menu or by using the keyboard shortcut Ctrl + Shift + I (on a PC) or Command + Shift + I (on a Mac).
importing photos into Adobe lightroom
In the Import window, you can select the photos that you want to import from your hard drive or external storage device. You can also specify a destination folder where the imported photos will be stored.
One useful option in the Import window is the ability to apply Develop presets to your imported photos. Develop presets are predefined settings that you can use to quickly apply specific edits to your photos. For example, you can create a Develop preset for black and white conversions or for adding a certain amount of contrast to your photos.
Organizing Photos
After you have imported your photos into Lightroom Classic, the next step is to organize them in the Library module. The Library module is where you can view, sort, and label your photos.
One way to organize your photos in the Library module is by using collections. Collections are virtual groups of photos that you can create to organize your photos according to your needs. For example, you can create a collection for each of your photo shoots or for your favorite photos.

how I organize my photos
You can also use keywords to label your photos and make them easier to find later. Keywords are tags that you can add to your photos to describe their content. For example, you can add the keyword "landscape" to your photos of landscapes or the keyword "portrait" to your portrait photos.
Editing Photos
The Develop module is where you can make all sorts of edits to your photos. From basic adjustments like exposure and white balance to more advanced edits like selective color correction and lens corrections, the Develop module has everything you need to improve your photos.
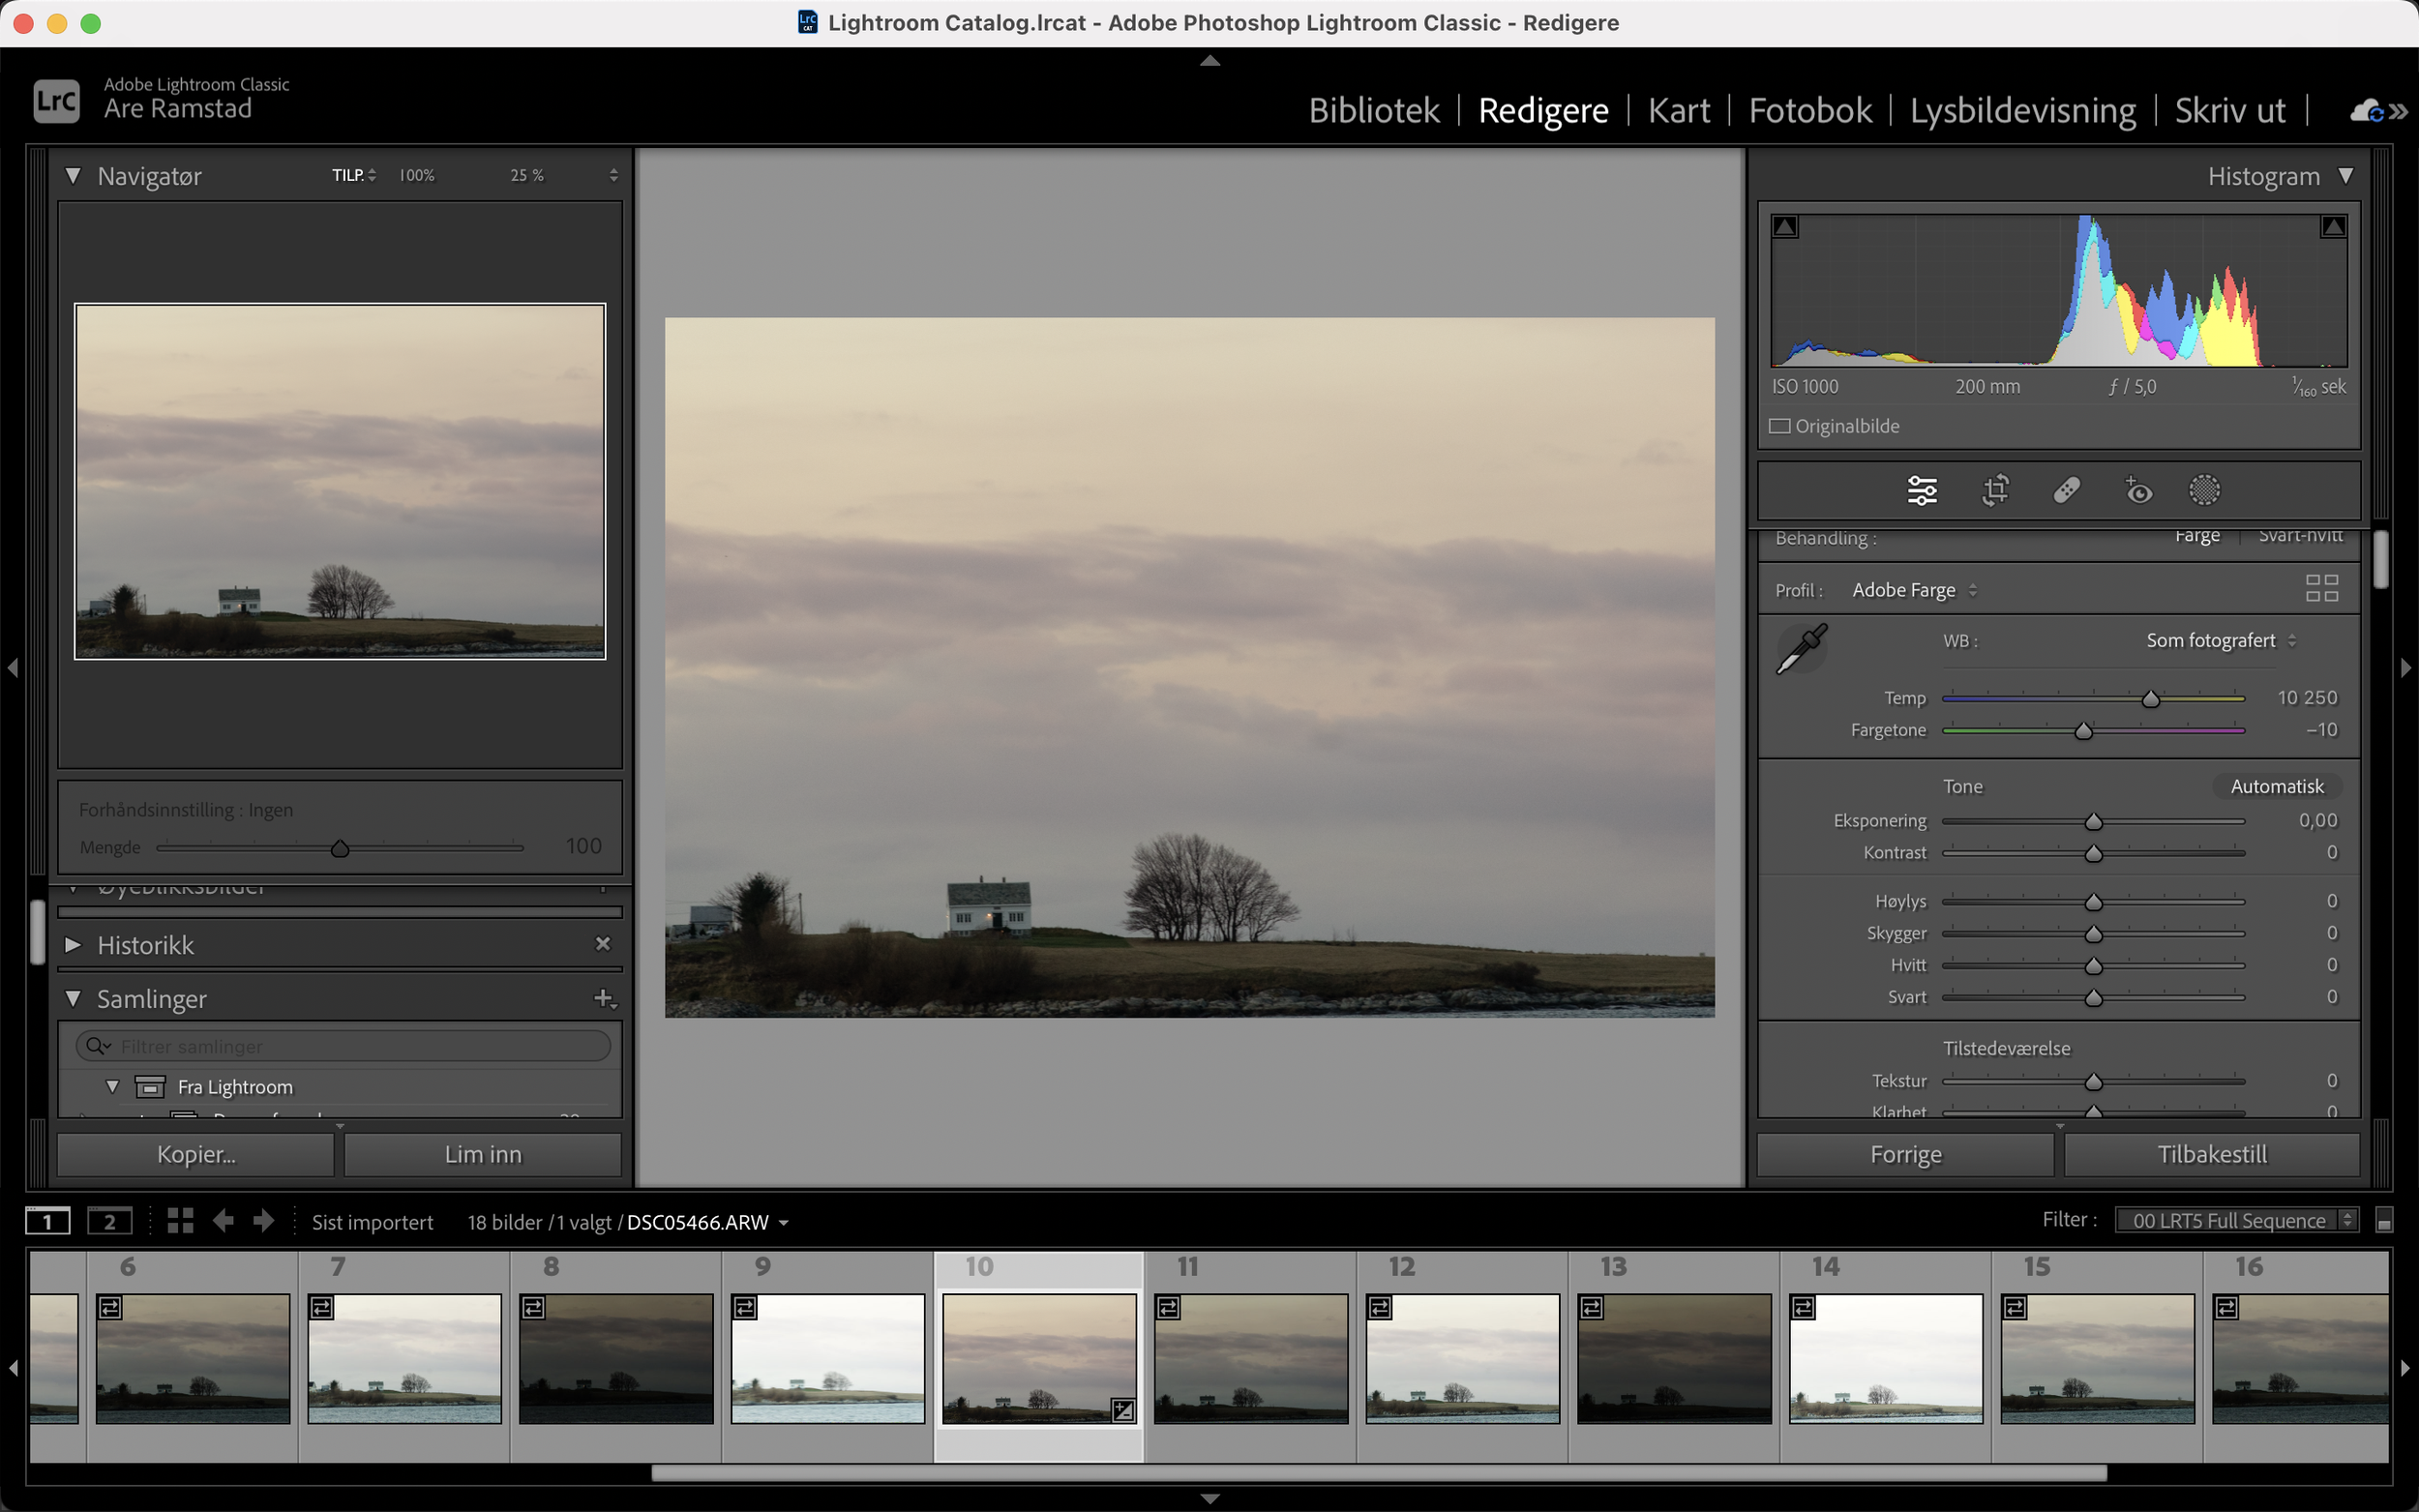
Develope module
One essential tool in the Develop module is the Basic panel. The Basic panel contains sliders for adjusting the exposure, contrast, highlights, shadows, and other fundamental aspects of your photo. By moving these sliders, you can fine-tune the overall look of your photo.
Another useful tool in the Develop module is the Adjustment Brush. The Adjustment Brush allows you to paint specific areas of your photo with edits, such as increasing the exposure or adding a vignette. This is especially useful for selectively editing certain parts of your photo without affecting the rest.
Exporting Photos
When you are happy with your edited photos, the next step is to export them for sharing or printing. To export your photos, go to the File menu and select "Export". In the Export window, you can choose the destination folder, file format, and other export options.
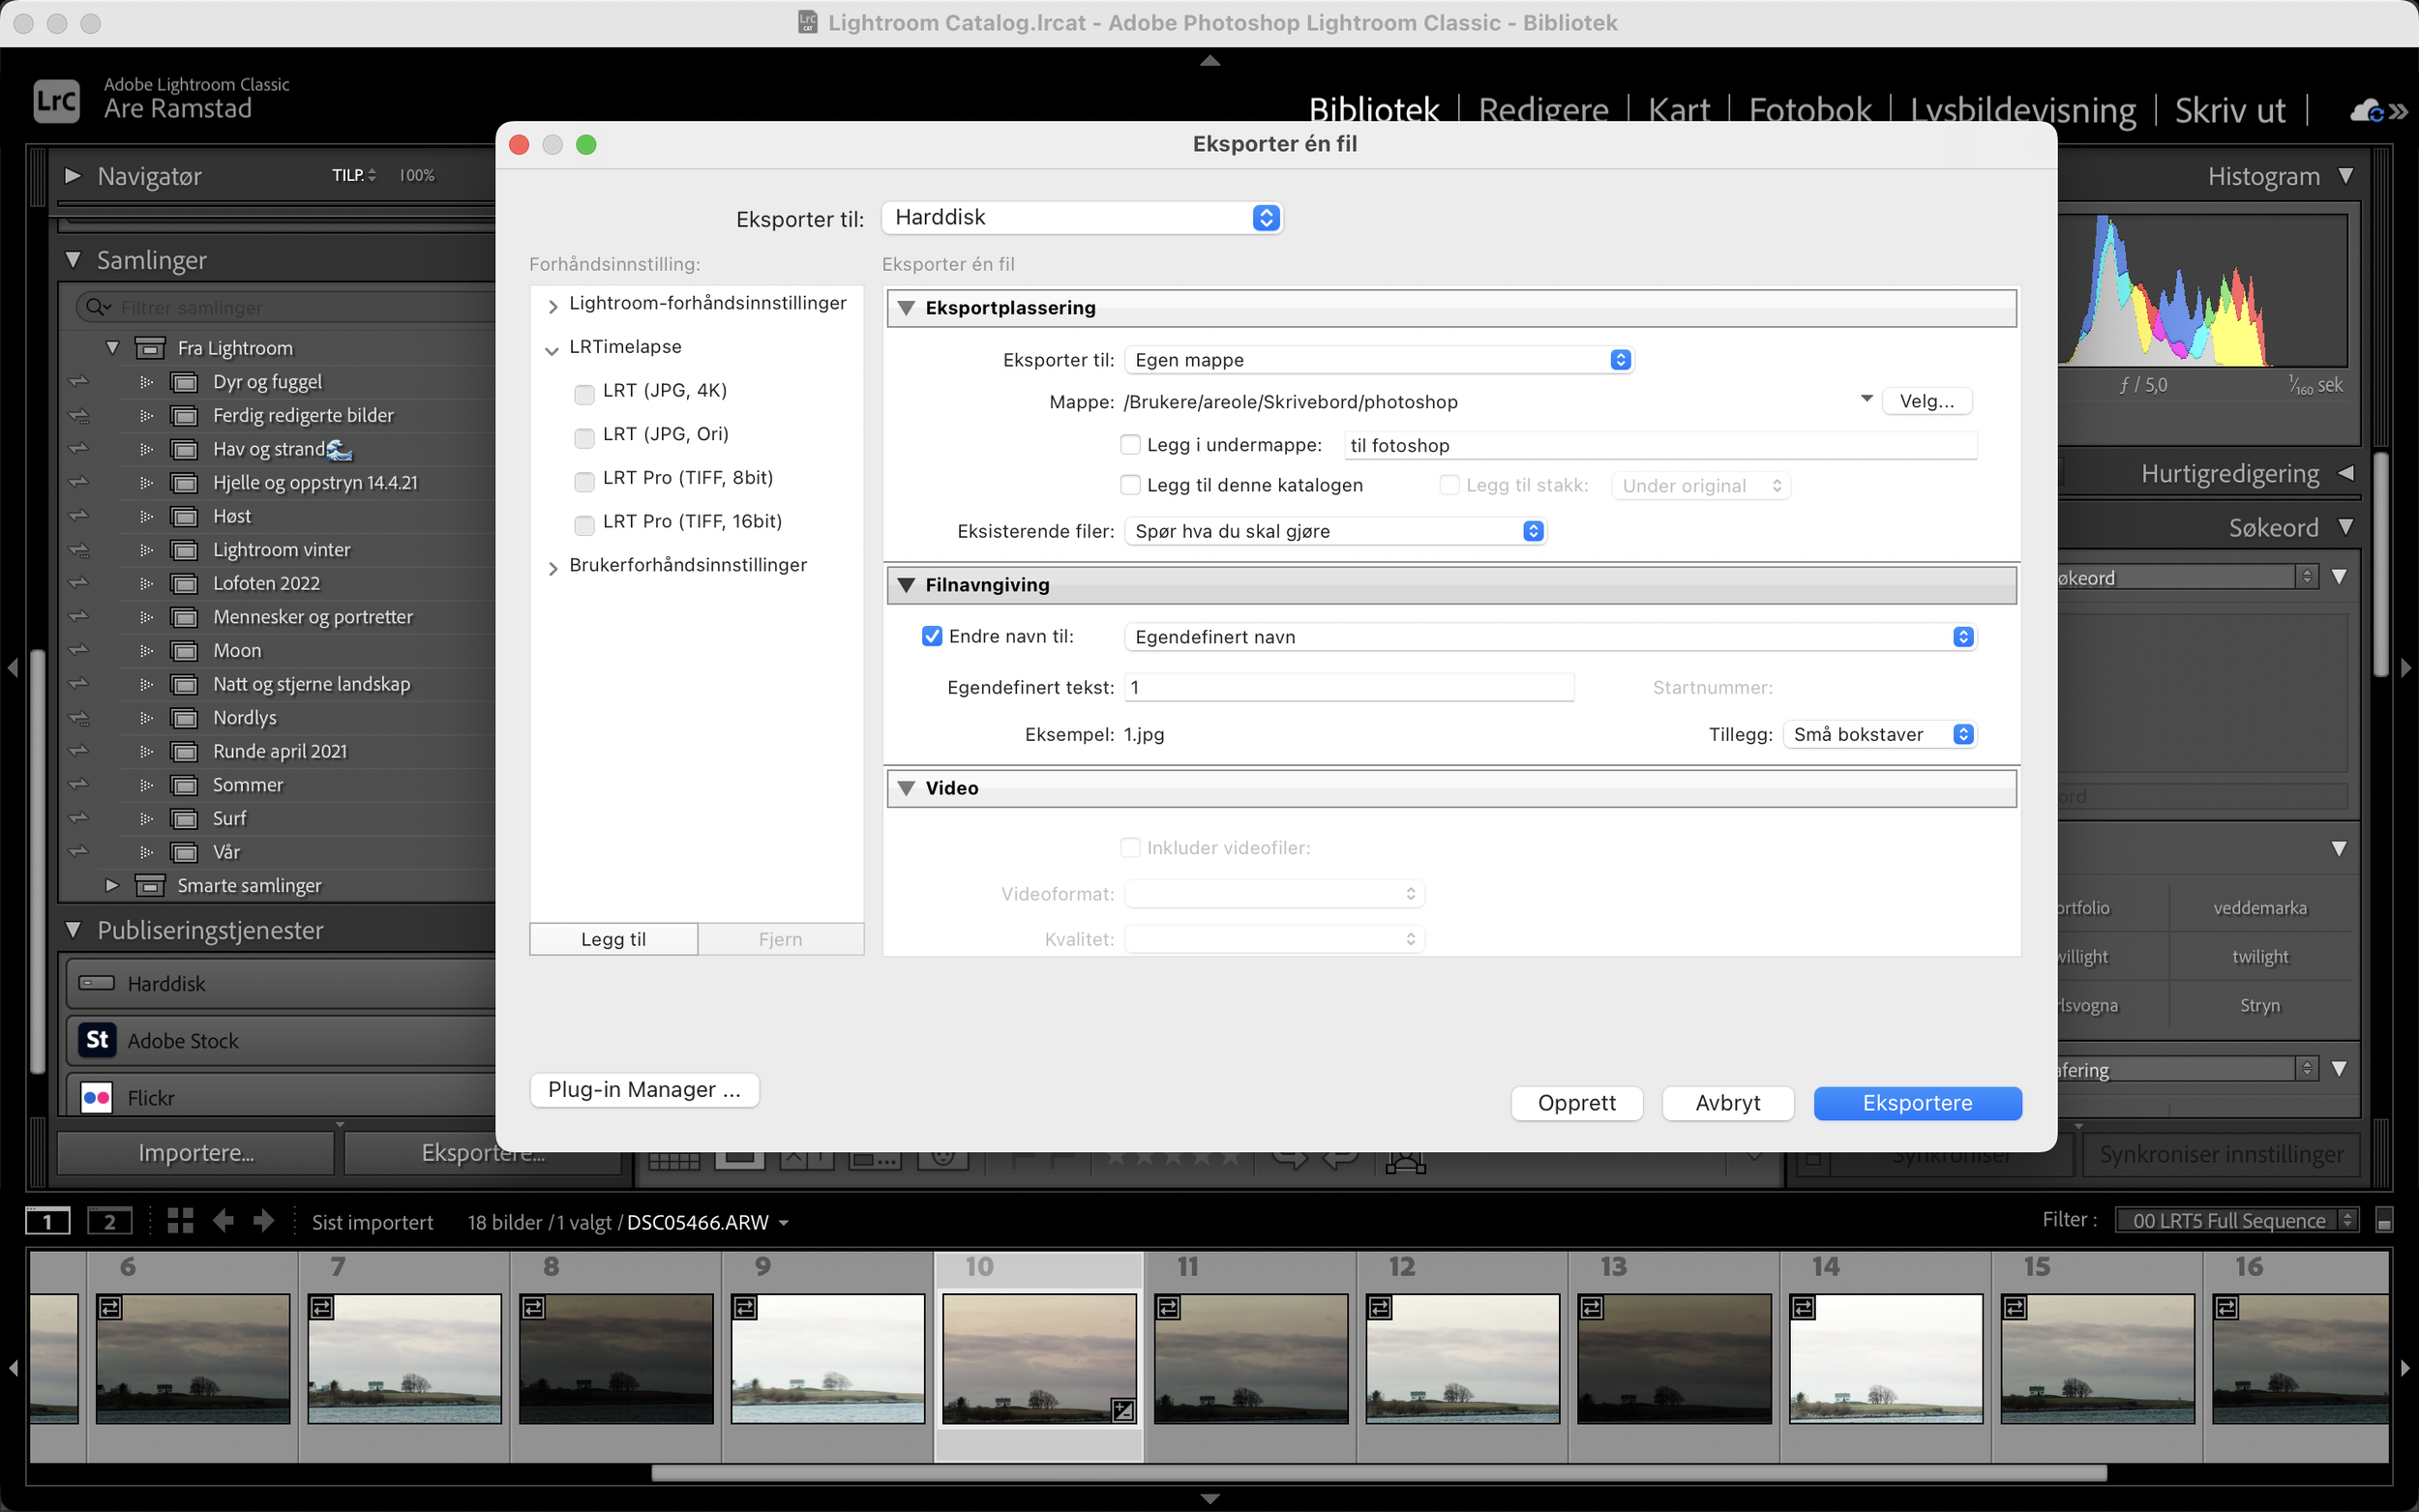
Exporting
One useful export option is the ability to resize your photos. This can be useful if you want to share your photos online or if you want to print them at a specific size.
Another export option is the ability to apply watermarks to your photos. Watermarks are a way to protect your photos and add your name or logo to them.
Thank you for reading this blog post. As always, I am open to any feedback or questions you might have. Thank you for your support.


I hope that you found it informative and helpful. As someone who struggles with dyslexia, I want to let you know that I used a writing tool called OpenAI's GPT-3 to assist in the creation of this piece. GPT-3 has been an invaluable resource for me, helping me to fine-tune my writing and express my thoughts more clearly. While I was responsible for the overall direction and content of the post, GPT-3 helped me to refine the language and make the writing more cohesiv.
Thinking about the Sony ZV-E10 II? After six months of use, I took it on a weekend getaway to test its photo and video capabilities. In this hands-on review, I share what I love, what I don’t, and whether it’s worth buying. Read more for real-world insights, pros & cons, and sample images!