Mastering Photo Import in Photoshop: Techniques, Shortcuts, and Tips
Design by Are Ramstad
Adobe Photoshop is a powerful image editing software that allows you to manipulate and enhance your photos in a variety of ways. One of the first steps in editing your photos is importing them into the software, but this can be a bit overwhelming for some users. In this guide, we will explore various ways to import your photos into Photoshop, including shortcuts and tips to make the process as seamless as possible.
Lightroom:
Lightroom is a separate program that is also made by Adobe and is designed for professional photographers. It allows you to import, organize, and edit your photos. You can use Lightroom to import your photos into Photoshop by selecting the photos you want to edit and then right-clicking on them and selecting "Edit in Photoshop."
Adobe Bridge:
Adobe Bridge is a separate program that comes with Photoshop and is designed to help you organize and manage your photos. You can use Bridge to import your photos into Photoshop by navigating to the folder where your photos are located and then selecting the ones you want to import. Once you have selected your photos, you can then press the "Open" button or use the shortcut "Ctrl+O" to open the selected photos in
Photoshop File Menu:
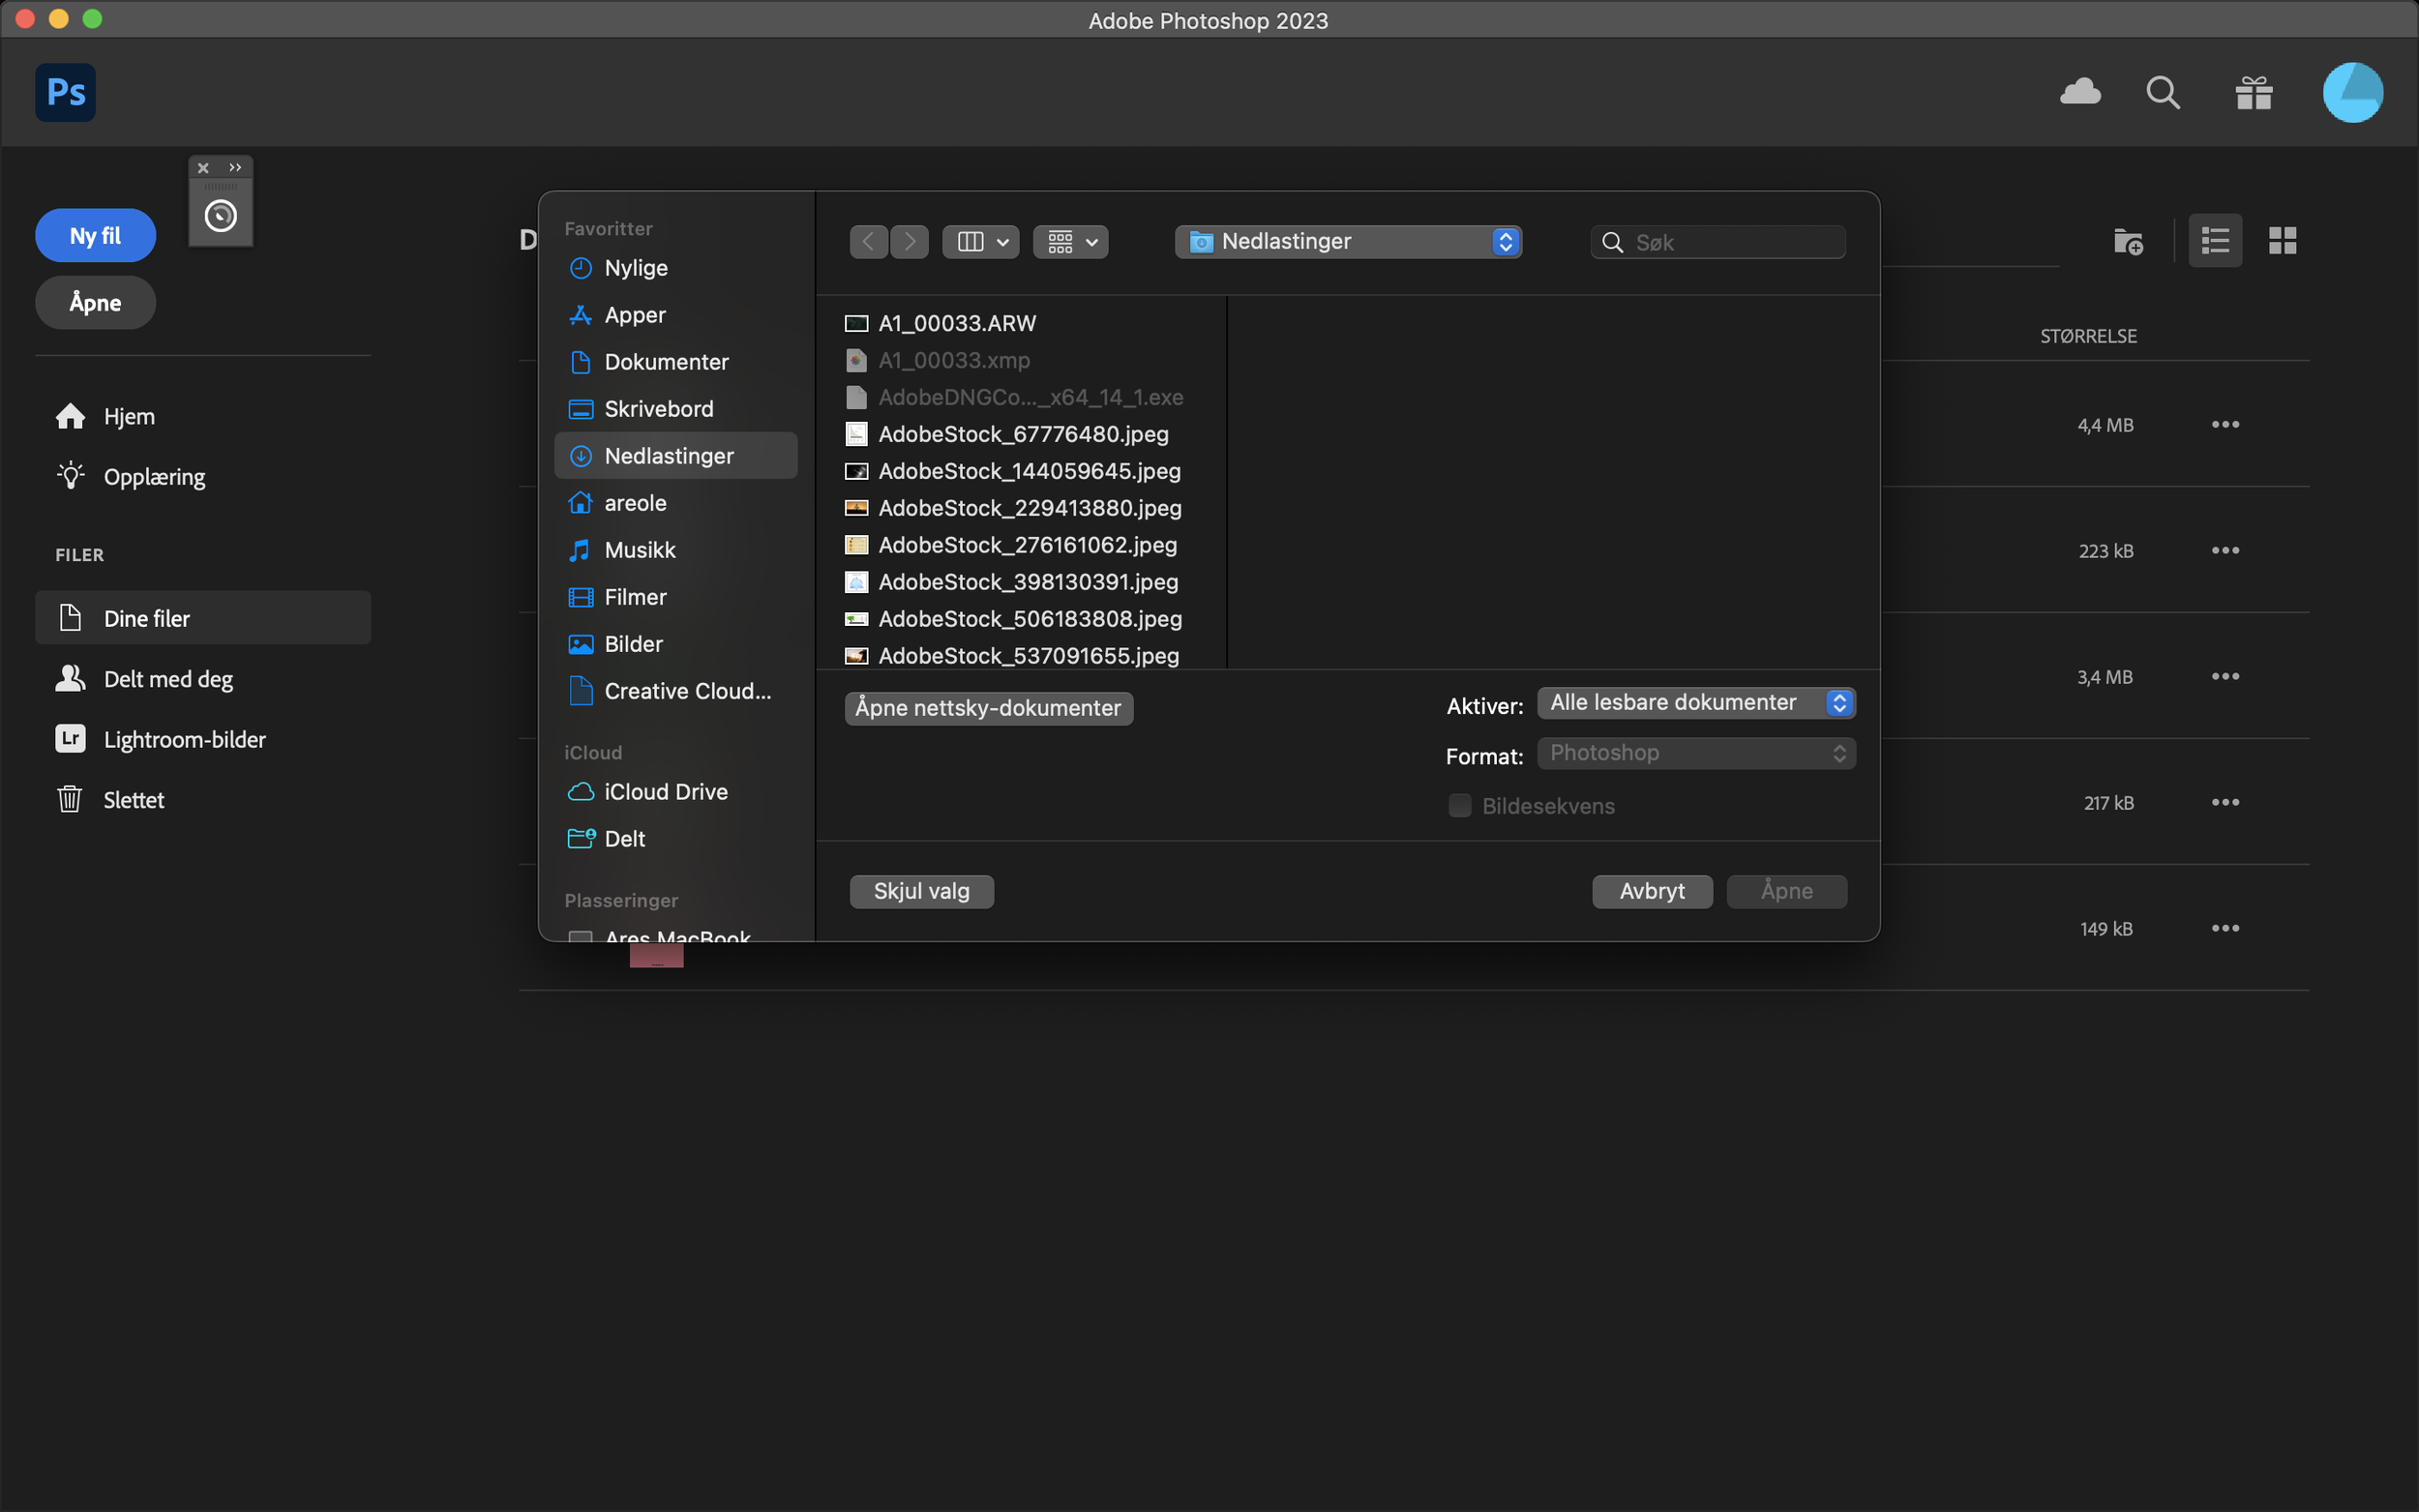
You can also import photos directly into Photoshop by using the "File" menu. Go to "File" > "Open" and then navigate to the folder where your photos are located. Once you have selected your photos, you can then press the "Open" button or use the shortcut "Ctrl+O" to open the selected photos in Photoshop.
Drag and Drop:
You can also import photos into Photoshop by simply dragging and dropping them from your computer's file explorer into the Photoshop window. This is a quick and easy way to import multiple photos at once.
Camera Raw:
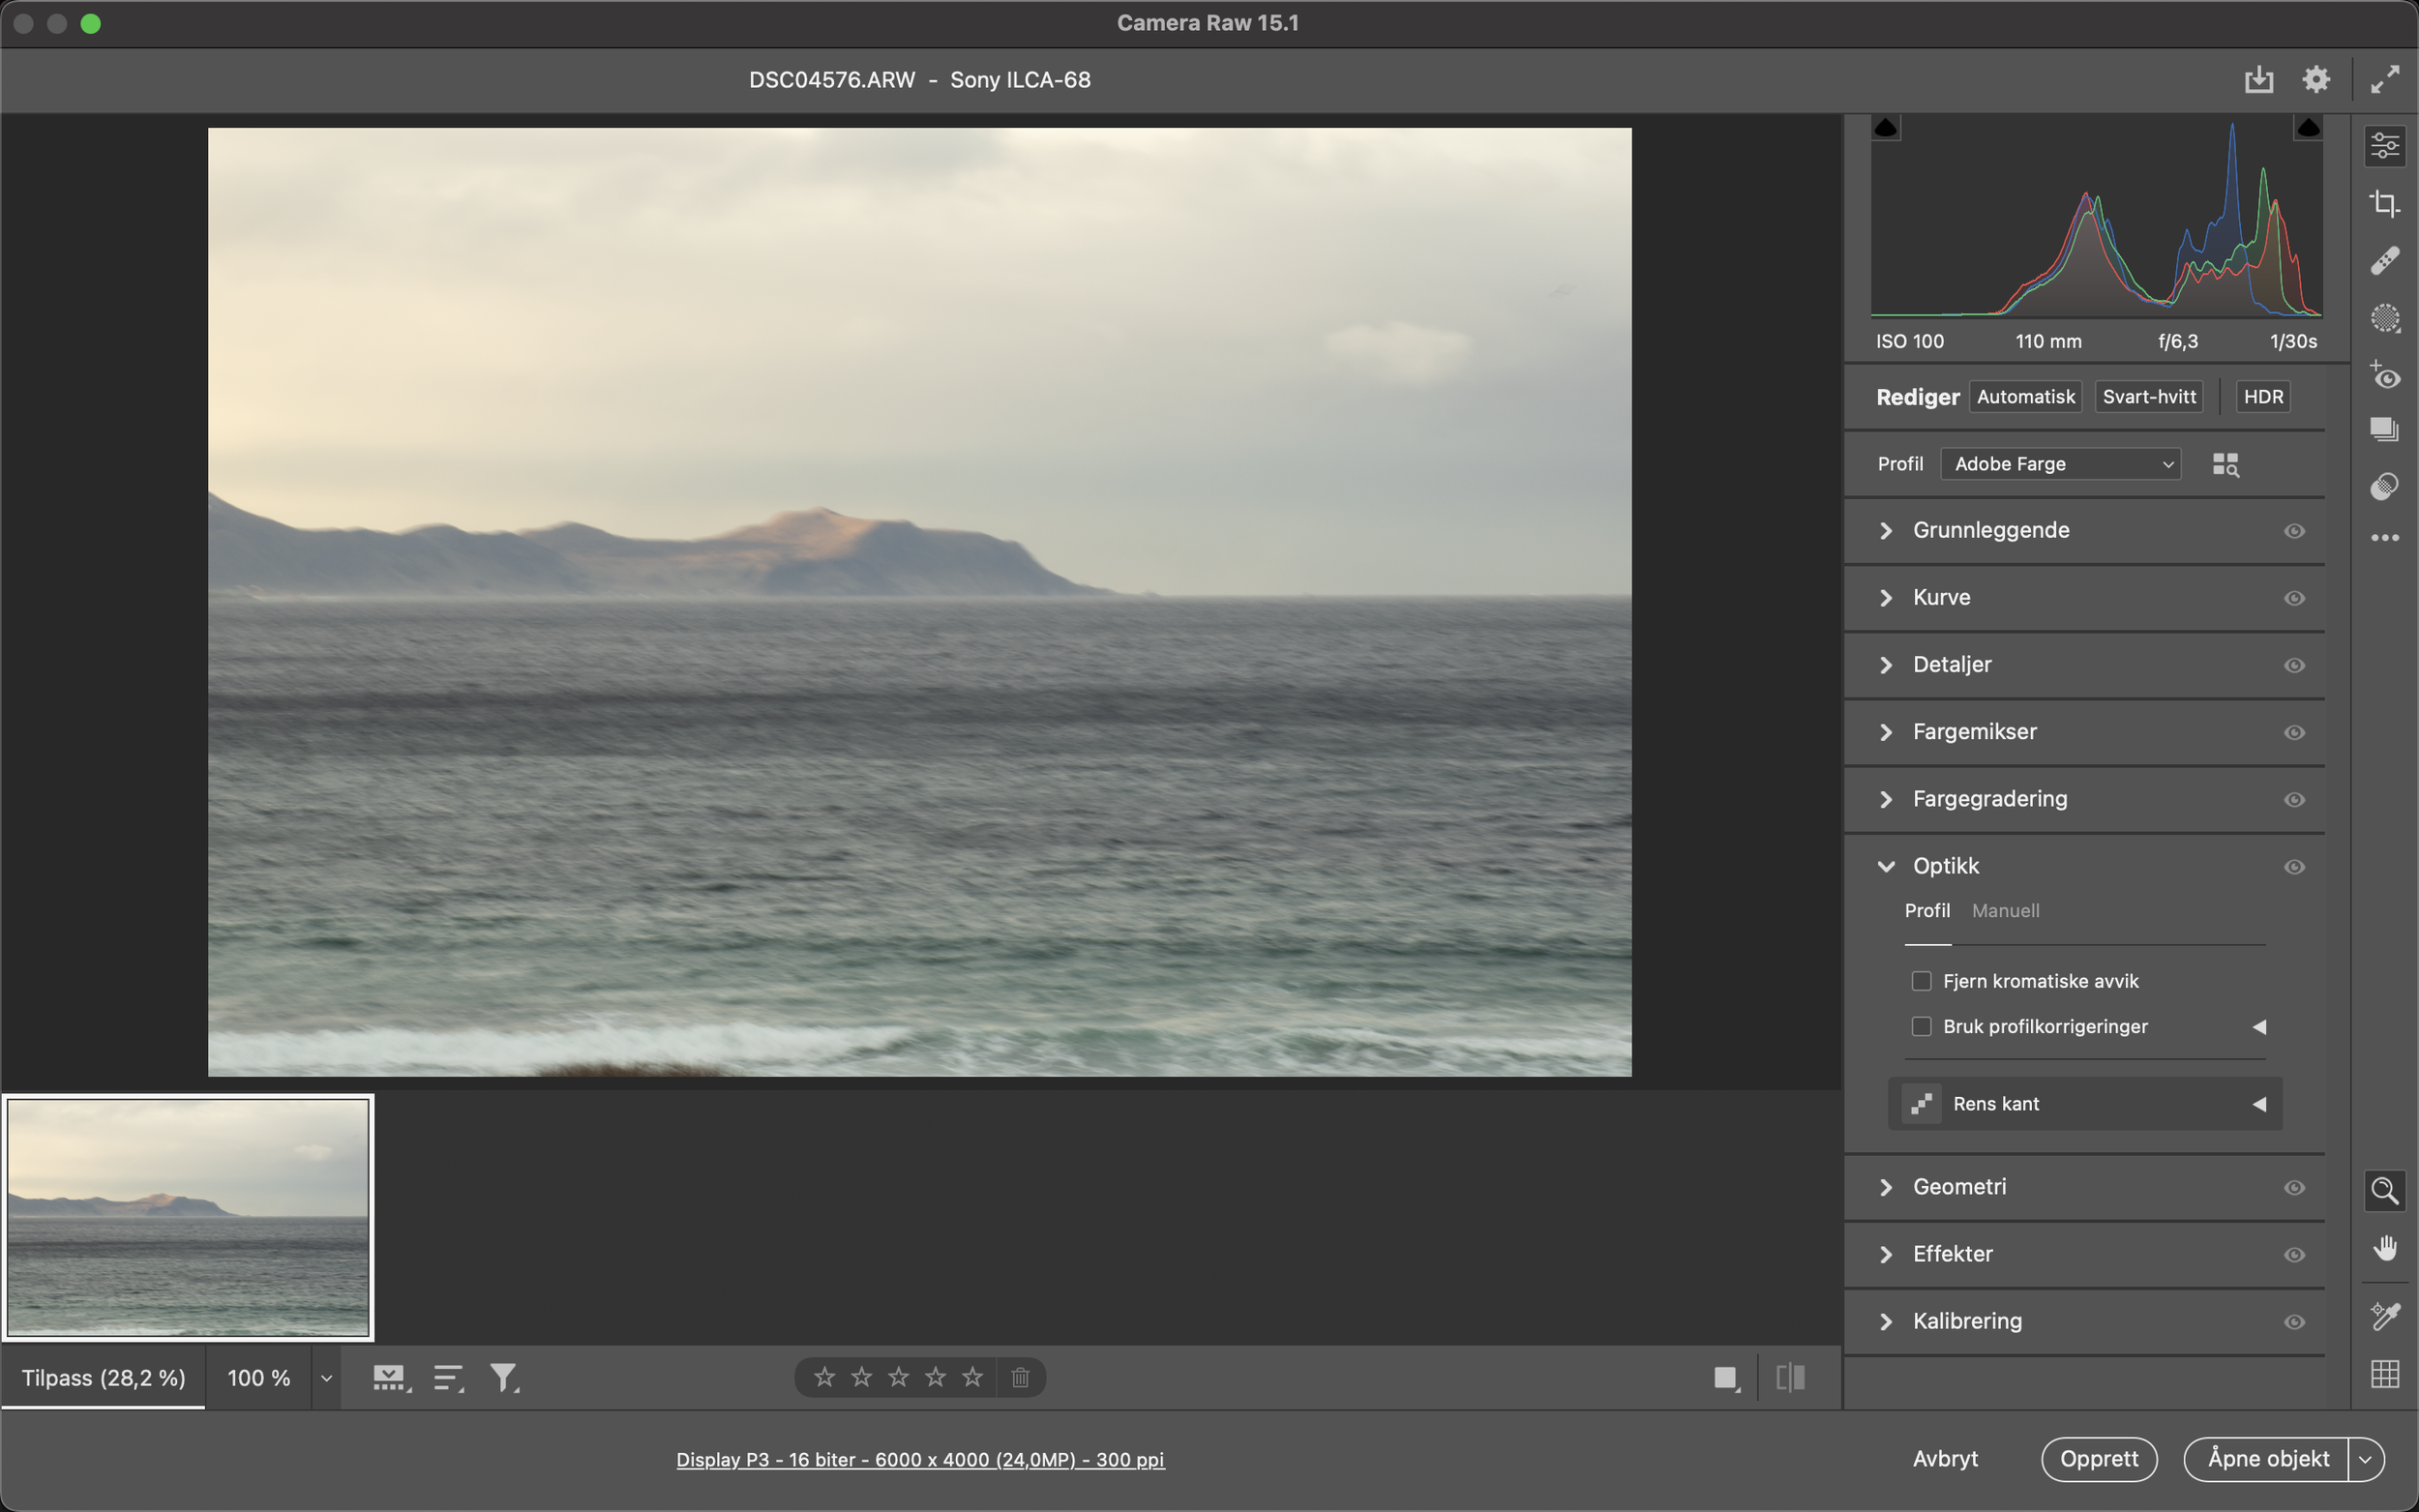
Camera Raw is a plug-in that comes with Photoshop and allows you to import and edit raw image files. You can use Camera Raw to import your photos into Photoshop by navigating to the folder where your photos are located and then selecting the ones you want to import. Once you have selected your photos, you can then press the "Open" button or use the shortcut "Ctrl+O" to open the selected photos in Camera Raw.
In addition to these import methods, there are also some shortcuts and tips to make the process as seamless as possible. To speed up the process, try to use the same file structure for all your images, and use keywords, ratings, and labels to help you organize your images. To easily select multiple images at once, you can use the "Ctrl+Click" or "Shift+Click" shortcuts.
In conclusion, importing photos into Photoshop can be a bit overwhelming, but with the right techniques and shortcuts, it can be a breeze. Whether you use Adobe Bridge, Lightroom, Photoshop's File menu, drag and drop, or Camera Raw, there is a method that will work for you and help you to start editing your photos as soon as possible.
I hope that you found it informative and helpful. As someone who struggles with dyslexia, I want to let you know that I used a writing tool called OpenAI's GPT-3 to assist in the creation of this piece. GPT-3 has been an invaluable resource for me, helping me to fine-tune my writing and express my thoughts more clearly. While I was responsible for the overall direction and content of the post, GPT-3 helped me to refine the language and make the writing more cohesiv.


Thinking about the Sony ZV-E10 II? After six months of use, I took it on a weekend getaway to test its photo and video capabilities. In this hands-on review, I share what I love, what I don’t, and whether it’s worth buying. Read more for real-world insights, pros & cons, and sample images!